hexo 环境的搭建 以及 hexo next 主题中常用的配置
环境配置
按照 别人的 博客来:https://zhuanlan.zhihu.com/p/24019875
- 安装 node.js 环境
- github 必备
- 在 node.js 环境中 使用 npm 命令安装 hexo
在配置过程中出现了下面 这种问题。就是 代理的设置 导致 git clone 下载https … 开头的连接出错,要么使用 git 开头的连接下载,要么去掉https 的代理
Failed to connet to 127.0.0.1 port 1080: connection refused
1 | git config --global --unset http.proxy |
hexo 命令
1 | hexo init # 在当前文件夹下生成 |
hexo 配置修改
隐藏 powered By Hexo / 强力驱动
打开 themes/next/layout/_partials/footer.swig
找到 含有 "powered-by" 的一块代码,删掉
浏览页面显示当前浏览进度
打开 themes/next/_config.yml,搜索关键字 scrollpercent,把 false 改为 true
Local Search本地搜索
安装插件hexo-generator-searchdb,执行以下命令:
1 | npm install hexo-generator-searchdb --save |
修改hexo/_config.yml站点配置文件,新增以下内容到任意位置:
1 | search: |
编辑 theme 主题下的配置文件,启用本地搜索功能:
1 | # Local search |
设置网站图标
在 EasyIcon 中找一张(32 * 32)的 ico 图标,或者去别的网站下载或者制作,并将图标名称改为 favicon.ico,然后把图标放在 /themes/next/source/images 里,并且修改主题配置文件:
1 | favicon: |
设置 abbr 引用
hexo默认为每个 md 文件生成一个页面的 但是页面的链接 太复杂了 不简洁
1 | npm install hexo-abbrlink --save |
添加网易云歌单
修改themes\next\source\css\_custom\custom.styl文件,加入自定义样式
1 | ## 粘贴在这两行代码下面 |
将网易云中的歌单 分享得到一个链接 将链接中的 id 替换下面的 885457449 并在浏览器中打开 将页面中的 html 代码拷贝替换上述的 iframe….
1 | https://music.163.com/#/outchain/0/885457449/ |
1 | <iframe frameborder="no" border="0" marginwidth="0" marginheight="0" width=330 height=110 src="//music.163.com/outchain/player?type=0&id=885457449&auto=1&height=90"></iframe> |
late公式支持
更换Hexo的markdown渲染引擎
1 | npm uninstall hexo-renderer-marked --save |
修改node_modules.js文件
hexo-renderer-marked渲染引擎仍然存在一些语义冲突问题,到博客的根目录下,找到node_modules.js,把第11行的escape变量的值做相应的修改:
1 | // escape: /^\\([\\`*{}\[\]()#$+\-.!_>])/, |
同时把第20行的em变量也要做相应的修改
1 | // em: /^\b_((?:__|[\s\S])+?)_\b|^\*((?:\*\*|[\s\S])+?)\*(?!\*)/, |
在主题中开启mathjax开关
到博客根目录下,找到themes/next/_config.yml,把math默认的flase修改为true,具体如下:
1 | # Math Equations Render Support |
在文章的Front-matter里打开mathjax开关
如果你写的文章里面用到了数学公式,需要在文章Front-matter里打开mathjax开关。如果用不到数学公式,则不需要管它。
1 | --- |
重启hexo
1 | hexo clean #清除缓存文件 |
加密博客
首先安装一个加密的插件
1 | npm install --save hexo-blog-encrypt |
在 站点配置文件 中启用该插件:
1 | encrypt: |
然后在文章的头部添加上对应的字段,如 password, abstract, message
1 | --- |
增强插件
使用hexo-enhancer插件,自动标题、自动日期、自动分类(根据文件夹路径自动生成分类,但是不会将类别信息写进 md 头中)、自动标签、自动缩略语生成。安装方法:
1 | npm install hexo-enhancer --save |
安装插件后 在目录 E:_notes_bolg_files_modules 下会生成 hexo-开头的文件夹,编译时 会自动调用 hexo- 开头的插件,对于 enhancer插件来说 安装后 目录下增加了一个 hexo-enhancer 目录 其他插件也是如此。 找到这个文件夹中的 index 注释下述几行代码:
1 | // if (!data.abbrlink) { |
注释的原因是前面装过自动生成 abbrlink 的插件,那个插件会在生成后 将值写如 markdown 的 yaml 头中 以后更换文件路径 这个值不会再更改,儿这个插件不会写进 md 中 我认为这个不好 所以把她注释 免得和前面的 abbr 冲突。
引用 markdown 文件
当我们 使用 []](../xx.md) 方法引用别的笔记时,hexo 渲染会出现问题。通过这个插件可以很好解决,它的原理就是 在最后生成网页时 将链接替换为正确的使用 abbr 的链接地址
1 | npm install hexo-filter-link-post --save |
但是这个插件有 bug 它不支持不同目录下的 md 文件之间相对引用,同理打开 /node_modules/hexo-filter-link-post/index做如下修改:
1 | //const fileName = lastPost.source.replace('_posts/', ''); |
原理是直接对 文件名 和 abbr 建立映射 然后后续生成html时再将 文件名引用替换为 abbr 链接。因此 如果有 相同 文件名的 文件这种方法也会有问题(暂时就这么简单改了)
- 对于加密文章中的 引用 这个方法还是会失效
使用流程
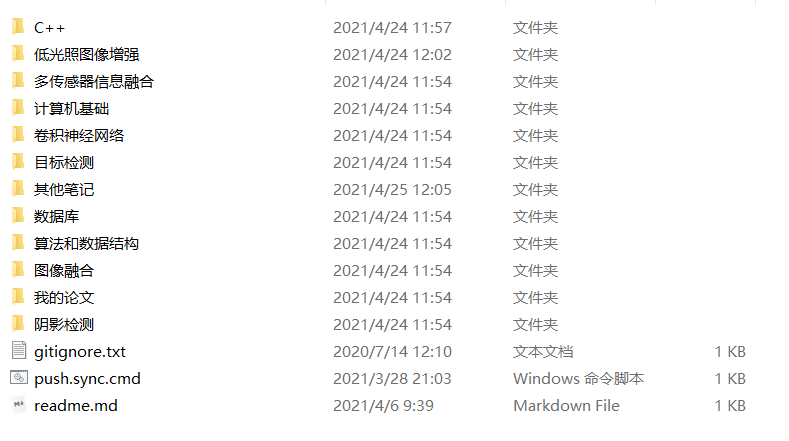
将 hexo 和 github 云同步使用。首先本地存放 所有笔记本的 md 文件,并且将本地的笔记文件夹和github中的私密Note仓库同步。

创建 部分本地笔记的 软连接到 hexo/_post 文件中,然后使用 hexo 将 md 内容渲染上传。添加新笔记的时候,直接用 typoral 对本地的 note 编辑即可。

1 | mklink /D "E:\hexo_blogs\source\_posts\计算机基础" "E:\my_notes\计算机基础" |